Adventure Awaits!
We’ve got nothing against the classic s’more. Who could possibly begrudge that winning combo of melted chocolate and gooey mallow? However, there is a whole world of campfire treats waiting to be explored and we’ve gathered recipes for campfire desserts for adventurous campers.
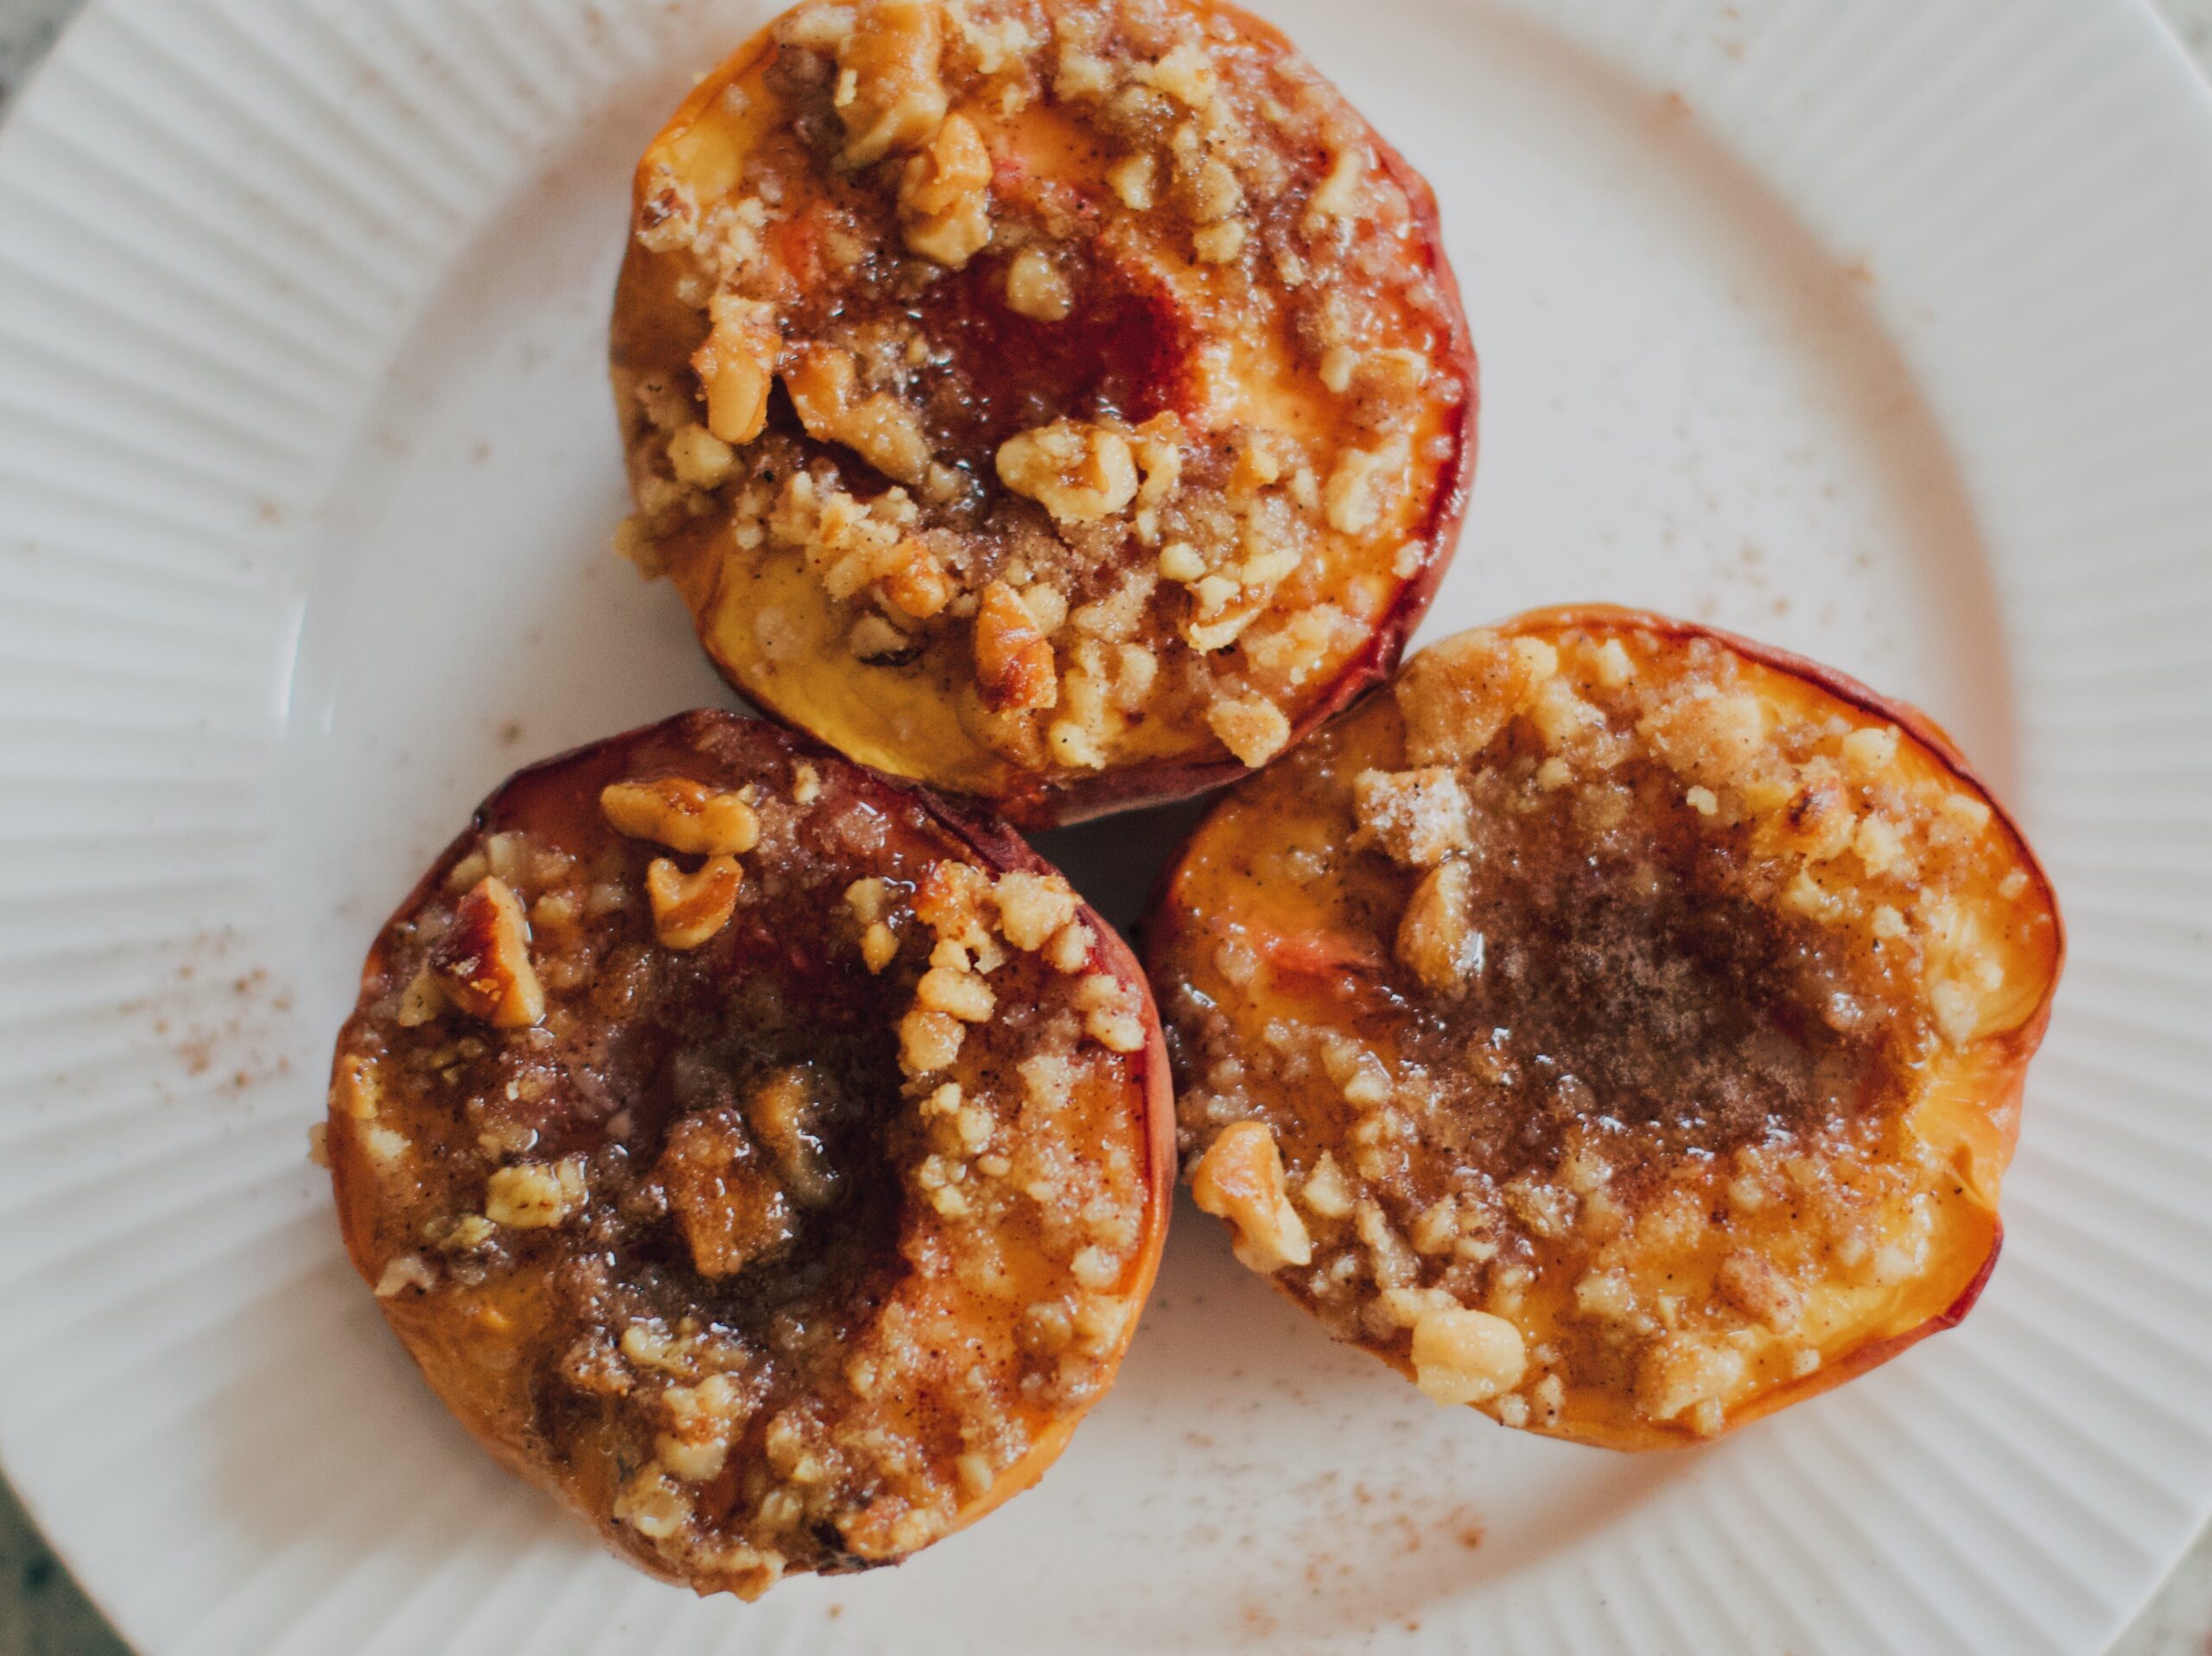

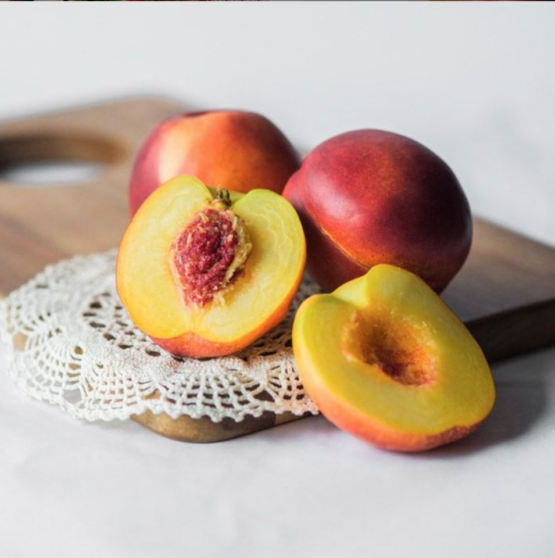
Grilled Personal Peaches
Serves 4
Grilling fresh peaches is a great way to amp up their sweetness. While the prep on this dessert might be a bit more involved on the front end, each dessert is a single portion that requires no additional clean up or dishes.
4 ripe peaches
¼ cup brown sugar
3 tablespoons unsalted butter
Pinch of salt
4 tablespoons of granola
Optional: Icecream (for our RVing friends)
- Prepare a bed of coals under the grill for medium-high heat.
- Using heavy duty foil, cut four, 12-inch square pieces of foil.
- Cut butter into 1/2 inch pieces and toss in a bowl with the brown sugar and salt. Save yourself a mess at the campsite and do this step at home, adding into a ziplock bag to bring along.
- Wash peaches, cut in half, and remove the pits. Equally portion the butter/sugar mixture into the wells of four peach halves.
- Place two peach halves, cut side down onto each square of foil. Bring the corners of the foil up and crimp closed, sealing the foil packet.
- Place the packets on the grill over the fire and cook for about 15 minutes, rotating the locations of the packets so that they cook evenly. (If the firepit at your campsite doesn’t have a grill, you can pull coals from the fire to create a bed of coals away from the main fire and put the foil packets directly on the coals. This is a less controlled method, but still creates a delicious treat.)
- When peaches have cooked, use tongs to pull the foil packets from the fire and rest the peaches in their foil packets for a few minutes.
- Open the foil pack carefully, as it will steam. Turn peaches over using a fork. Sprinkle each peach with granola and enjoy!
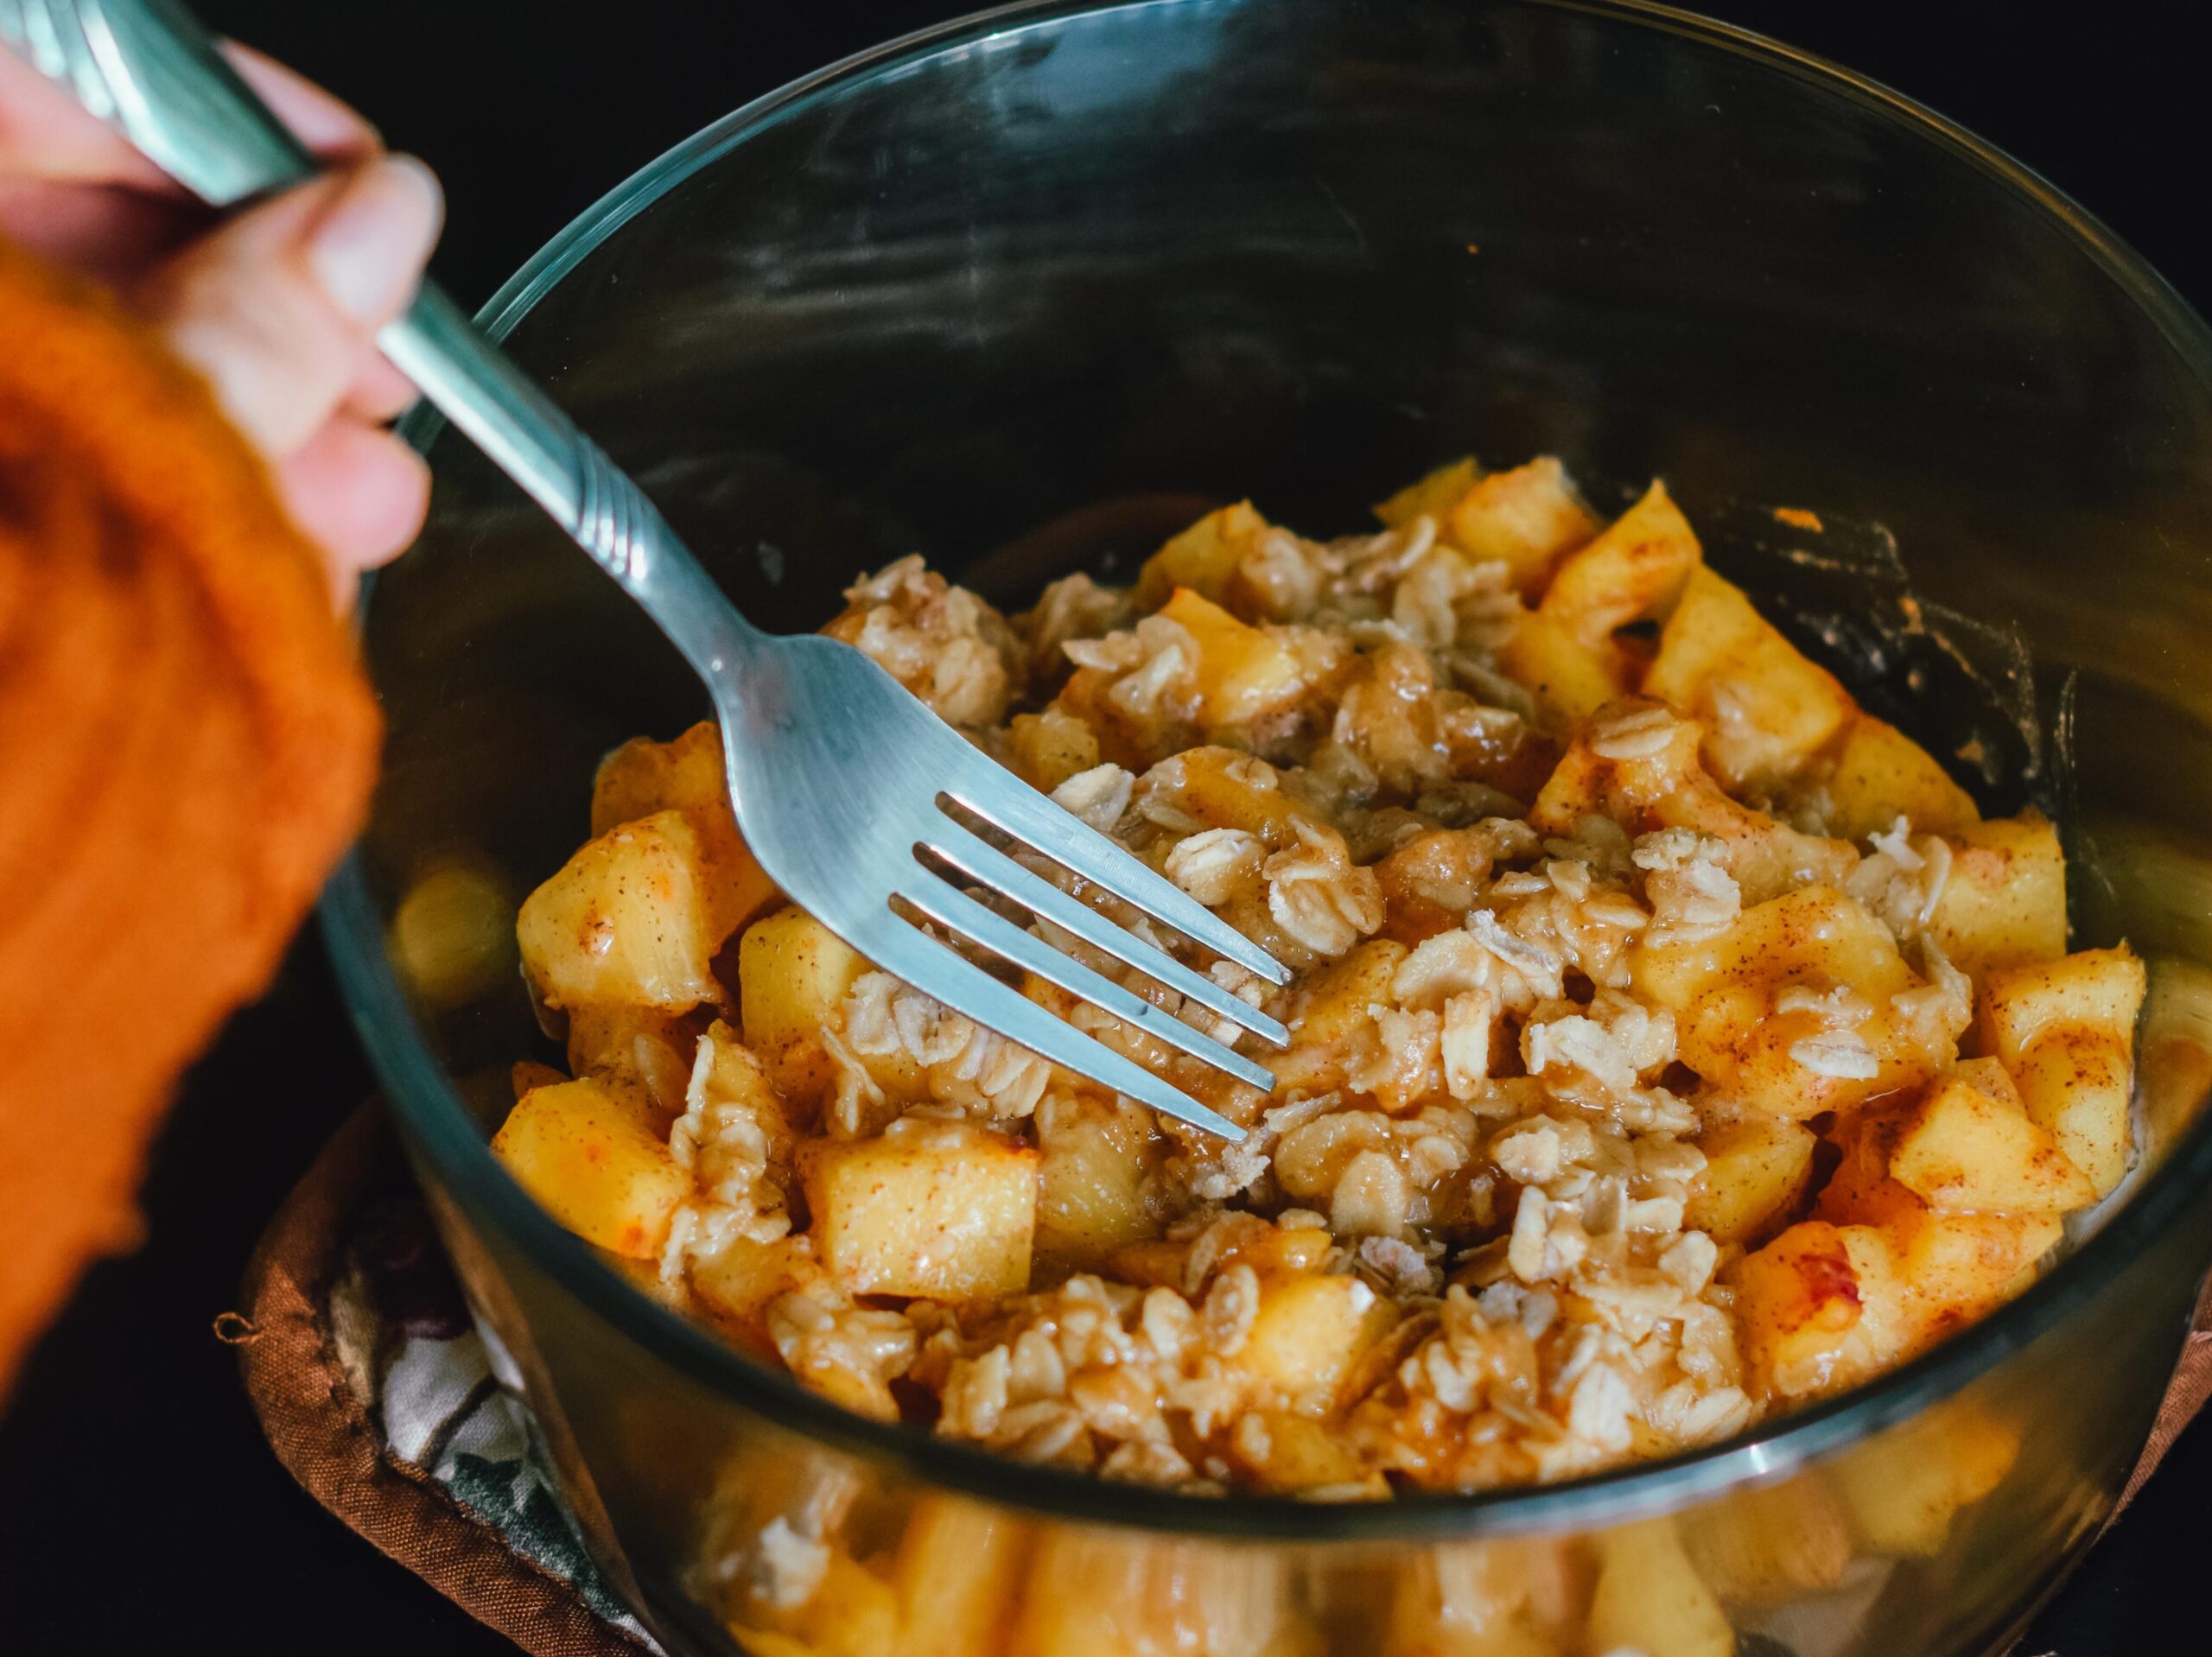

Campfire Peach Crisp
Serves 4-6
To keep it super simple, this recipe utilizes canned peaches and instant oatmeal. To create that crumble topping, you will use graham crackers, which nearly every camp pantry has on hand for classic s’more making. You can easily mix up the dry, topping ingredients in a ziplock bag before the trip, to simplify the prep campside.
2 – 15oz canned peaches in light syrup
6 – 8 graham crackers
3 – packets brown sugar instant oatmeal
⅓ cup butter, cut into small pieces
Optional: ⅓ chopped pecans
9×9 disposable, aluminum foil pan
- Prepare a bed of coals under the grill for medium-high heat.
- Break up graham crackers and add them to the aluminum pan. Sprinkle with instant oatmeal and pecans (if using).
- Pour entire contents of canned peaches over the graham/oatmeal crumble and toss everything together with a spoon.
- Scatter butter over the top of the crisp and cover the pan tightly with foil.
- Place on the grill and cook for 15-25 minutes, rotating position for even cooking. Watch carefully for burning.
- Remove the pan from the fire, peel back the foil carefully. Eat directly from the pan or dish into bowls if you fancy doing dishes later.
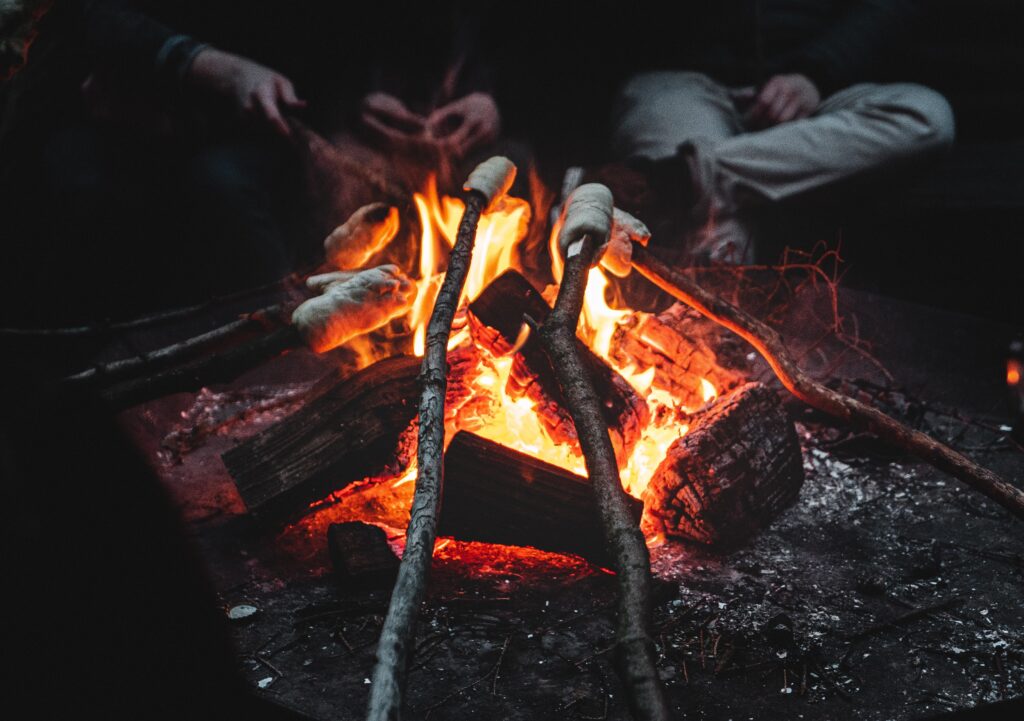

Broomstick Eclairs
Serves 4-6
Okay, you don’t have to use a broomstick, but this classic, campfire dessert does require some “specialty” equipment in the form of a 1 inch dowel. Dowels are easy enough to get from a hardware store. Use the dowel as is or follow this great DIY for roasting sticks. If you’re camping in a wooded area, you can also hunt for a branch to use, once you are at camp. We’ll cover those sticks with foil, so an old broomstick or a fallen branch will work just dandy.
1” diameter roasting stick/broomstick
Aluminum Foil
Butter or non-stick spray
1 package refrigerated crescent rolls
1 package of vanilla pudding (or chocolate if you fancy)
1 jar of chocolate frosting, chocolatey nut spread
- Prepare your pudding ahead of the trip and store in an air-tight container, plastic ziplock, or empty ketchup bottle (these last two methods make for easy eclair filling at the campsite). Store in the refrigerator or cooler until ready to use.
- Once your fire is ready for roasting, wrap the end of your roasting stick/dowel with foil and coat with butter or non-stick spray to keep the eclair from sticking.
- Wrap a section of crescent dough around the stick, making sure to overlap as you go and completely close off the end.
- Slowly roast the eclair over the fire, being sure to rotate for even roasting. Slow and steady is the way to go!
- When the eclair is perfectly roasted, slide it carefully off the dowel. Fill with pudding, top with chocolate frosting, and enjoy!

Banana Boats
This is another classic that often gets forgotten in lieu of a traditional s’more, but we think it’s worth a revisit. While there is no denying this is solidly in the dessert category, the fresh fruit adds a dose of nutrition. Top with more fresh fruit like raspberries or sliced strawberries for an even healthier option.
Ingredients per Serving:
1 banana
12 mini marshmallows
⅛ cup mini chocolate chips
Optional: Peanut Butter, toffee bits, granola, fresh raspberries
- Prepare a bed of coals under the grill for medium heat.
- Cut tin foil into 12 inch squares, enough for each banana boat.
- Leaving the peel on the bananas, cut a slit lengthwise, but not through the bottom portion of the peel.
- Open up the split in the banana and stuff with marshmallows, chocolate chips, and peanut butter, if using.
- Place on a sheet of foil and loosely fold over the top of the banana boat leaving a little bit of headroom, so the chocolate doesn’t just coat the foil. Make sure all ends of the foil are sealed.
- Grill for 3-5 minutes, or until the marshmallows and chocolate make a delicious gooey mess.
- Top with optional toppings: toffee bits, granola, fresh raspberries, crushed vanilla wafers… the possibilities are endless.
Fuel Your Adventure
If these campfire desserts for adventurous campers have you feeling inspired, you’ll enjoy our roundup of road trip snacks perfect for the drive and your hiking excursions. Now that you’ve got the all-important dessert and snacks covered, head on over to our Guide to Quality Meals in the Great Outdoors and you’ll be set for your next adventure!

